Shows
Live TV
Schedule
TV Provider
Sign In
Try Paramount+
Back to video
Search shows
Sign Up
Sign In
Shows
Live TV
Schedule
TV Provider
Your browser does not support the video tag.
Your browser does not support HTML5 video.
Your browser does not support HTML5 video.
Your browser does not support HTML5 video.
CATCH UP ON THE SEASON FINALE
SURVIVOR returns with a bold new group of competitors, inspired gameplay and momentous tribal councils.
WATCH NOW
Catch Up On The Latest Season
Georgie & Mandy’s First Marriage follows Georgie & Mandy as they raise their young family while navigating the challenges of adulthood.
WATCH NOW
Catch Up On The Latest Season
Emmy and Academy Award winner Kathy Bates stars as Madeline Matlock, a brilliant lawyer who uses her unassuming demeanor to win cases.
WATCH NOW
Catch Up On The Latest Season
Elsbeth, an astute but unconventional attorney, utilizes her unique point of view to corner brilliant criminals alongside the NYPD.
WATCH NOW
NEW EPISODES NOW STREAMING
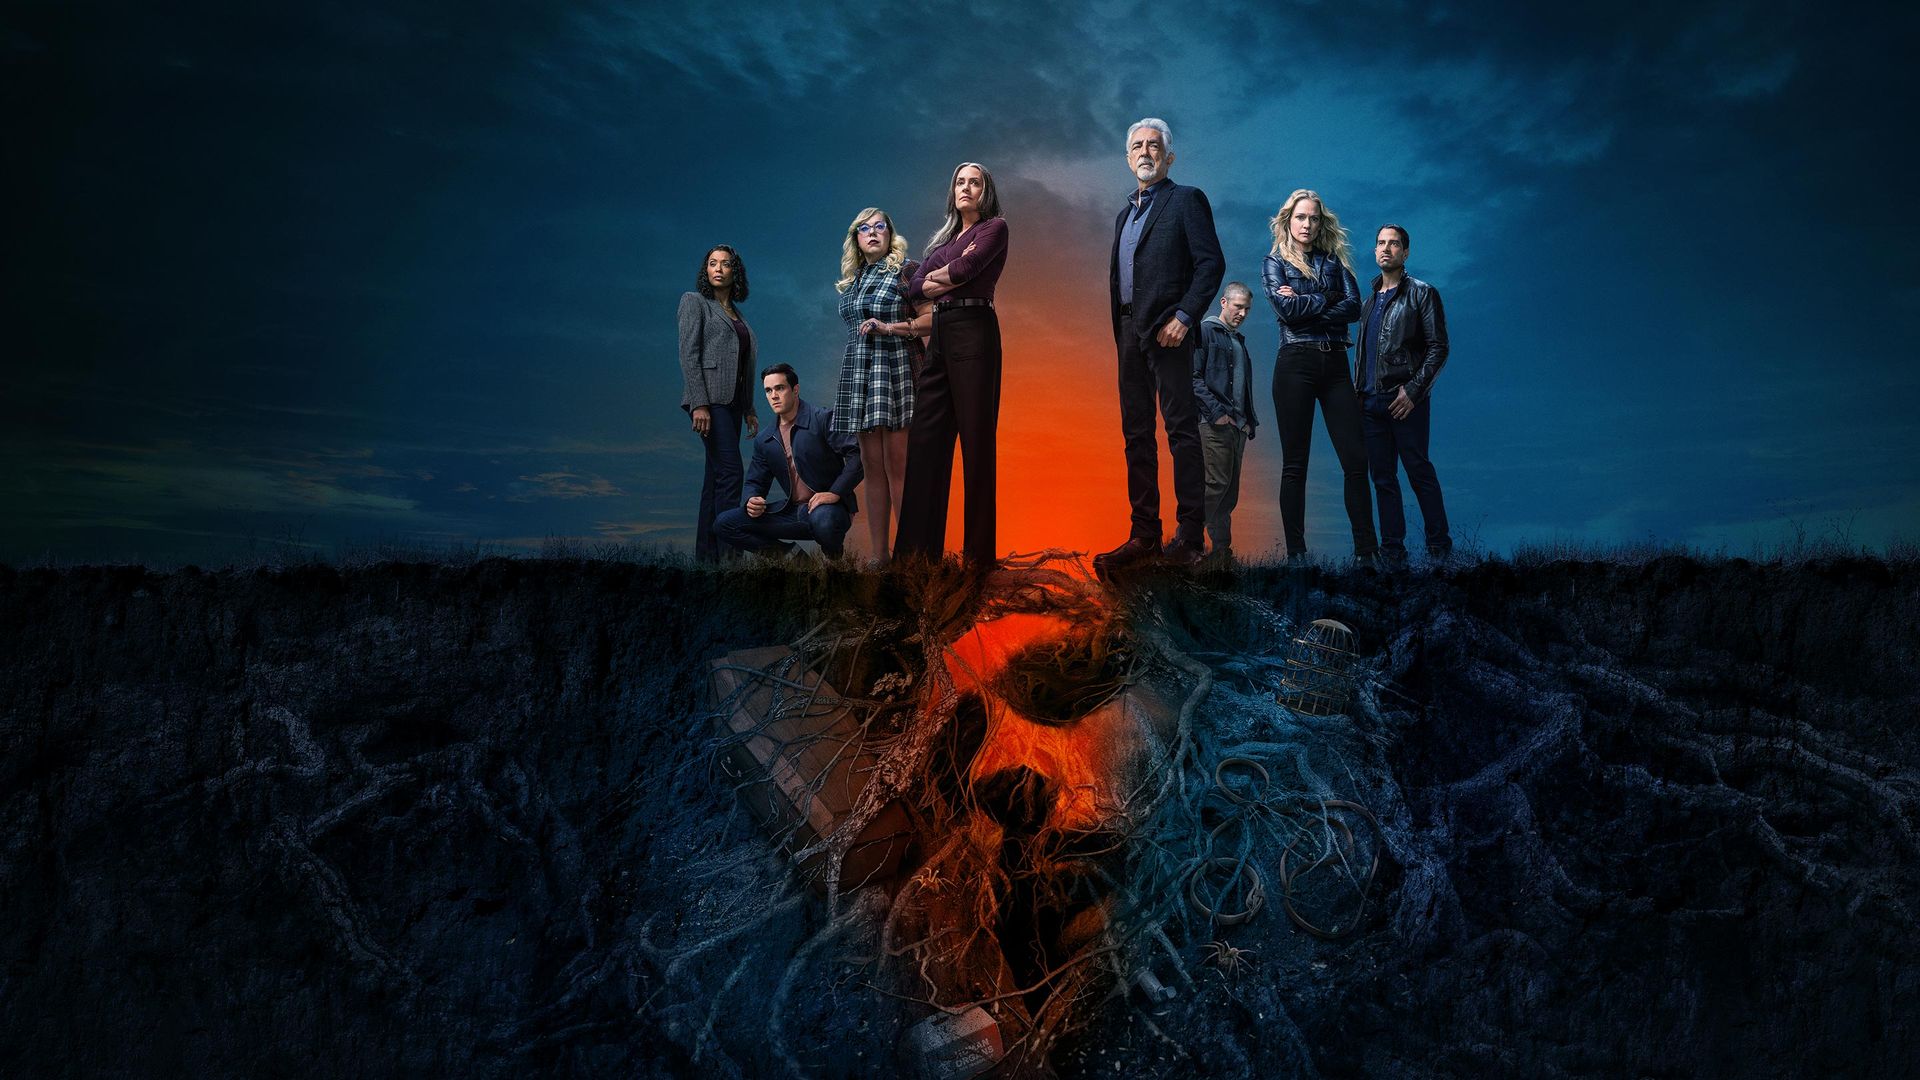
In the Paramount+ Original, the BAU must join forces with their old enemy Elias Voit to take down his network of followers.
WATCH NOW